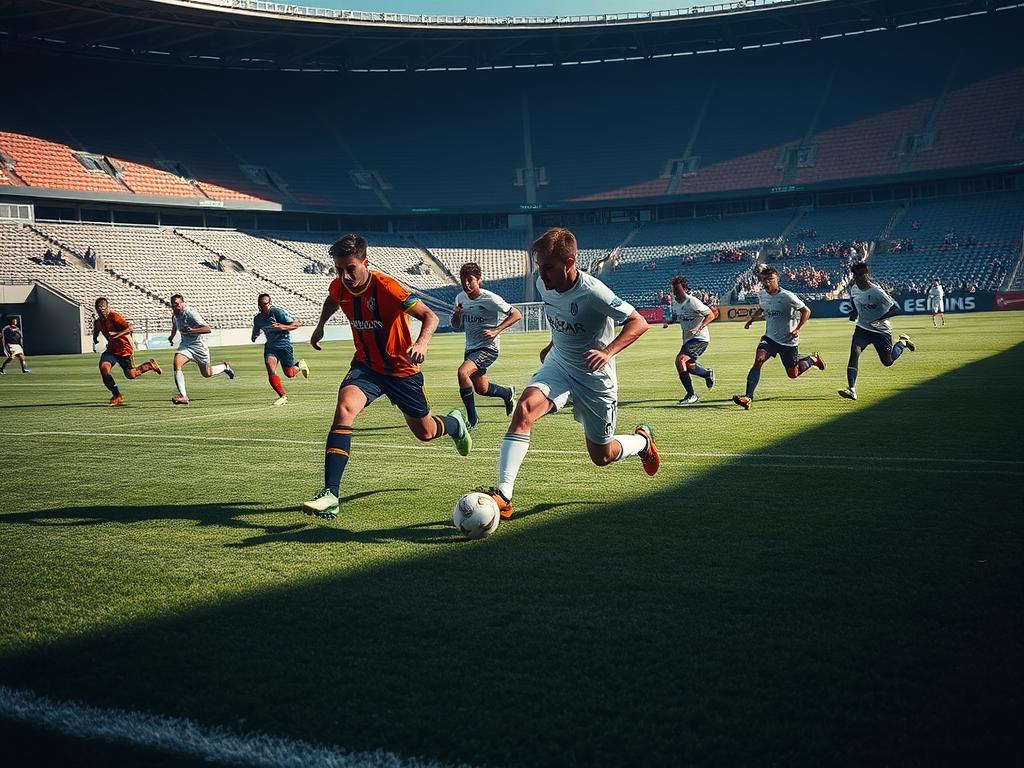
you want to control matches from the first whistle, and learning how to play a high pressing game gives your team that edge. This tactic forces turnovers near the opponent’s box and turns lost defense into instant chances.
Think of it as organized chaos: coordinated angles, compact lines, and clear triggers push play toward traps. Modern coaches like Jürgen Klopp and Pep Guardiola proved this strategy works on the biggest football stages.
The method needs sharp communication, a proactive goalkeeper, and relentless intensity on the pitch. Players hunt as a unit, use the touchline as an extra defender, and pounce when the ball is loose in the final third.
Master the structure and your team will win more territory, create quick shots after turnovers, and build confidence against strong opponents.
Key Takeaways
- High pressing wins territory and forces turnovers in the opponent’s half.
- Success needs compact spacing, clear triggers, and a proactive goalkeeper.
- Teams press in coordinated angles, not random chasing.
- Modern examples: Liverpool, Manchester City, Borussia Dortmund.
- With practice, the tactic creates more shots and game control.
What Is High Pressing and Why It Wins Games Today
When teams swarm the ball in the opponent’s third, turnovers often become shots within seconds. This is the essence of high pressing: aggressive pressure up the pitch that forces mistakes near goal.
Definition: High pressing applies intense pressure in the opponent’s defensive third or midfield so you can win the ball close to goal. It squeezes passing lanes and forces rushed choices.
Modern context: Elite football sides like Liverpool, Manchester City, Borussia Dortmund, Barcelona, and Leeds United show how coordinated pressing disrupts opponents and creates scoring opportunities.
- Press as a unit in the opponent’s half and shorten the field.
- Every player contributes: forwards set angles, midfielders squeeze, defenders hold a high line, and the goalkeeper covers behind.
- FIFA reports show youth teams use the same dynamic presses, so these methods scale from pro squads down to development sides.
Why it wins: Compact shape plus timing turns disorganization into your edge. Win ball back high, and quick transitions create chances before the opponent recovers.
Key Principles of a High Press
A successful press starts with compact distances and clear roles across the field. Keep your units tight so opponents cannot slip passes between lines. Tight spacing forces one-on-one duels on your terms.
Compact team shape and connected lines
Compactness wins space: defenders step up to compress the field, midfielders lock central routes, and forwards cut angles. This shortens passing lanes and makes every reception risky for the opponent.
Cutting passing lanes and controlling the opponent’s half
Angle your approach to shut down inside options first, then attack the ball. When passing lanes are sealed, the carrier’s decision window shrinks and mistakes follow.
High defensive line with a proactive goalkeeper
Hold a high defensive line backed by a sweeper-keeper ready to clear long balls. A small forward step from the keeper removes big risks behind the line and keeps your team compact.
Unit coordination, timing, and intensity
- Jump on defined triggers, not whims; timing multiplies effectiveness.
- Assign clear responsibilities by zone so every press is connected.
- After the ball back, protect team possession with a quick first pass and probe the disorganized defense.
Want formation examples that support this structure? Check a classic 4-3-3 approach here for practical setup ideas.
Pressing Triggers: When the Whole Team Goes
Certain moments on the pitch act like switches—flip one and the whole unit surges. Spotting those cues lets you turn small mistakes into big chances.

Classic triggers: a poor first touch, a back pass under pressure, or a midfielder receiving while facing their own goal. Each invites an immediate, coordinated reaction.
- See a heavy touch? The nearest player sprints; the next cuts inside and the unit compresses space.
- A pressured back pass triggers an all-in press that can force a hurried clearance and a shot moments later.
- Force play wide and isolate the fullback, then collapse from three angles to intercept the risky pass.
- Encourage long balls and hunt the second ball—your midfield anticipates the knock-down while others squeeze up.
Reactive rules and quick cues
Call the trigger fast so every player moves in sync. Use body shape to show the ball toward touch and shut passing lanes. Triggers are rehearsed cues that turn pressure into possession and scoring opportunities.
| Trigger | Immediate Action | Goal |
|---|---|---|
| Poor first touch | Nearest presses, others compress | Win ball high |
| Back pass under pressure | All-in press, block exits | Force clearance or shot |
| Isolated fullback | Collapse from three angles | Intercept or foul high |
| Long aerial ball | Attack second ball together | Regain possession in half |
Player Roles and Responsibilities in a High Press
Successful recovery near goal starts with precise roles and rapid reactions from every player. Ready? Clear responsibilities remove guesswork and let the unit turn pressure into chances.
Forwards
Forwards initiate the press: steer play toward the sideline, lock the central pivot, and arrive with curved runs that block inside passes. Wingers time jumps on fullbacks while the striker cues the line—no solo sprints, only synchronized action.
Midfielders
Midfielders squeeze space: step tight, anticipate second balls, and keep the team’s positioning connected. The #6 screens central lanes, talks constantly, and launches first-time passes after a win to spark quick attacks.
Defenders and Goalkeeper
Defenders hold a high line: track runs immediately, dominate aerial duels, and sweep long passes away from danger. Your goalkeeper starts high as a true sweeper-keeper: quick off the mark and calm with distribution after recoveries.
- Core responsibilities: press, cover, balance—if one jumps, a teammate slides.
- Coordination matters: voice cues, point marks, and keep the unit compact.
- After the win: secure the ball with a smart first pass and attack the nearest gap before opponents reset.
| Role | Main Duties | Outcome |
|---|---|---|
| Forwards | Steer play, lock pivots, timed jumps | Force turnovers high |
| Midfielders | Squeeze, win second balls, connect lines | Prevent splits |
| Defenders & GK | Hold line, track, sweep, distribute | Neutralize out-balls |
Pro tip: Teams like Liverpool and Manchester City make this look effortless because each position links to the next. Practice the cues and your aggressive press will become deadly efficient.
Formations, Shapes, and Pressing Traps
Formations give your press structure; traps turn that structure into turnovers. Pick the right shape and you force predictable choices. Then you pounce.
Best shapes for aggressive pressing
4-3-3 and 4-2-3-1 suit wide wingers who push fullbacks and a central 10 who jumps the pivot.
3-4-3 lets wingbacks press early while center-backs keep an aggressive line and compress the pitch.
4-4-2 diamond overloads midfield and helps you block the pivot and funnel play into side traps.
Cutting the field and blocking the pivot
Show outside, lock inside, then close the nearest three. That turns the touchline into a teammate.
Front-screen the pivot and back-marking forces the carrier toward the predictable ball played you expect.
Designing traps for the final third
Invite one pass into a set zone. Attack the first touch from two angles. Win ball back near goal. Then finish fast.
| Formation | Strength | Trap Role |
|---|---|---|
| 4-3-3 | Wide pressure, compact midfield | Funnel fullback and press pivot |
| 4-2-3-1 | Central 10 jumps passing lanes | Block pivot, force backward clears |
| 3-4-3 | Wingback overload, compressed pitch | Isolate wide, attack second ball |
| 4-4-2 diamond | Midfield overload, blocked passing lanes | Trap through center, win in final third |
Training to Press: Fitness, Drills, and Coordination
Condition, drills, and video work form the backbone of any team chasing sustained pressing intensity.

Physical preparation
Build your engine: short sprint intervals of 10–30 meters with brief recovery mimic match bursts. Repeat sprints with short rest train repeat efforts and late-match intensity.
Tactical drills
Use high-intensity rondos to teach angles and protect central lanes. Pressing grids with locked zones force cover, trap work, and quick ball recovery.
Run press-and-recover transitions that demand an immediate ball back and then secure team possession for the next attack.
Coordination, communication, and mindset
Layer reaction cues in every drill—coach calls, you jump together. Film sessions highlight timing gaps and fix them fast.
Train the mindset: relentless does not mean reckless. Practice controlled aggression and quick resets when pressure fails.
| Drill | Distance/Area | Focus | Reps |
|---|---|---|---|
| Sprint intervals | 10–30 m | Repeat power, recovery | 6–10 sets |
| High-intensity rondos | 6–10 m grid | Angles, quick ball back | 4–6 rounds |
| Pressing grids | Locked zones (20×20 m) | Trap, cover, recover | 5–8 reps |
| Press-recover games | Small-sided pitch | Team possession, transitions | 8–12 mins |
How to Play a High Pressing Game: Step-by-Step Implementation
Begin by locking down team rules—when to surge, who covers, and how tight the lines must sit.
Set team rules: triggers, cover, and spacing
Codify triggers and coverage so every player knows which cue starts the press and who screens the pivot.
Decide exact distances between lines and practice them until the unit moves as one. Small errors open whole channels on the pitch.
Build the line with goalkeeper support
Train a high defensive line with your goalkeeper positioned as a sweeper-keeper. The keeper must be ready to clear long balls and calm the back line.
Work starting markers so defenders and keeper keep consistent depth during matches and transitions.
Rehearse patterns and rest-defense
Drill wide traps, central baits, and second-ball hunts until reactions are automatic. Use small-sided sessions that force quick wins and an immediate first pass after a regain.
Define rest-defense roles: one presses, another covers, a third balances behind the play so counters die on contact.
Adjust by game state
Late in a half or when protecting a lead, drop into a compact mid block to conserve energy without ceding control of the half.
Then re-press on safe triggers to keep opponents guessing. Track spacing closely—too wide and you get bypassed; too tight and you risk being pinned.
- Assign responsibilities by line and player for seamless substitutions.
- Review footage weekly and tweak timing, line height, and trigger selection.
| Situation | Action | Goal |
|---|---|---|
| Early pressing phase | High defensive line, keeper forward | Win ball back in opponent half |
| Late in half | Drop to mid block | Save energy, maintain shape |
| Protecting lead | Lower block, selective re-press | Keep opponents honest |
Risks, Counters, and How to Stay Safe While Pressing
Pressing can win you territory, but it also hands opponents chances if your lines lose shape. Space in behind is the clearest danger. One stepped-up defender or an isolated midfielder creates a lane for a direct ball. That gap invites quick counters and shots from transition.
Space behind and overcommitting lines
When a defensive line pushes too high without cover, the opponent can launch long passes or runs in behind. This is fatal against fast forwards and accurate passers.
Countermeasures and recovery discipline
Stagger your line so cover exists behind every pressure. Teach midfielders and defenders disciplined rotations so one player presses while another covers. Drill aggressive recovery runs so teammates sprint back and delay the opponent’s first pass.
- Stagger lines: always leave cover behind the pressure.
- Rotation discipline: press in pairs and swap roles quickly.
- Goalkeeper sweep: a proactive keeper clears long attempts and reduces risk of a ball high over the back line.
- Energy management: drop to a mid block when tired or protecting a lead, then re-engage on safe triggers.
| Risk | Counter | Outcome |
|---|---|---|
| Space behind defensive line | Staggered cover and keeper sweeps | Reduce direct chances |
| Isolated presser | Rotation and pair-press rules | Maintain structure |
| Late-game fatigue | Drop to mid/low block | Conserve energy, protect lead |
| Lost ball in transition | Recovery runs and delay tactics | Win ball back fast |
Conclusion
Want to turn opponent mistakes into quick chances and control tempo across the pitch? High pressing gives you that edge. It shortens the field, speeds errors, and creates immediate scoring opportunities.
Use a clear blueprint: compact shape, defined triggers, brave line height, and a goalkeeper who sweeps. That mix helps your team win ball in dangerous areas and get the ball back fast.
Training the cues and drilling rotations makes pressing smarter, not reckless. When your unit moves as one, football moments in the final third favor you and shots from turnovers rise.
Commit to the strategy, measure shots created and territory gained, and keep communicating. Press together, recover together, score together.


